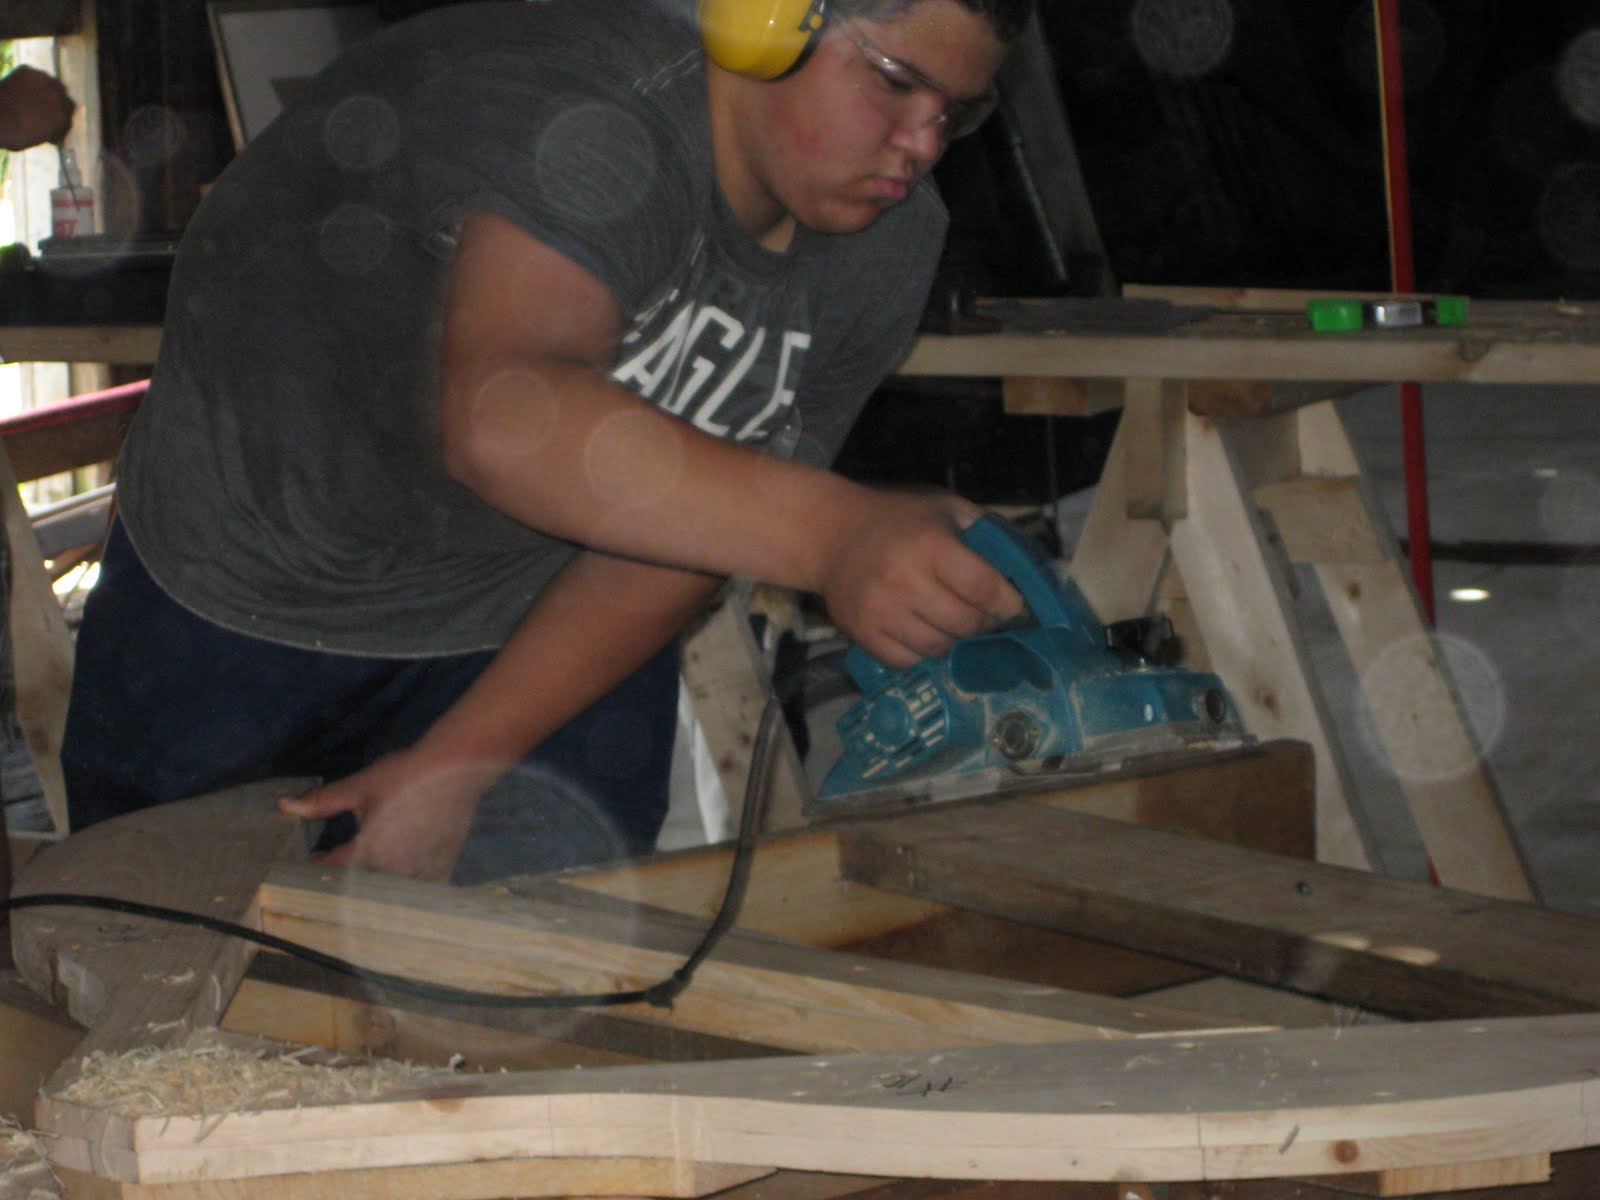
Today I worked on making oars most of the time. The first thing I had to do was cut the oar out from the template on the band saw. After that I had to plane down the sides of the oars. Also I got to take video of every one else working on making notches in the boat mold and that is all we had time to do today.
-Cody Seekins
Friday, July 30, 2010

Wednesday, July 28, 2010
Body Molds, Oars, Video and White Oak
 Today we worked on the jig. We started to chip away the boat molds and repositioned the mold. We're almost finished. Also, we worked on the oars. We have four done but we need six more. Plus, I took video today of every one working on the jig and I can't wait to come tomorrow to build, hopefully, some parts that are going on the boat.
-Cody Seekins
 What an incredibly productive video day for Kelsey, Mike and Amy. Amy uploaded two new videos and Kelsey and Mike each made their first ones, They did a fabulous job on these. Congrats filmmakers.
We also had a visit from Fred and Sue Beaman from Georgetown, who cut a white oak on their property for the shipbuilders to use in the shallop. Their tree will be put to great use. Here they are next to the pile of boards from the tree.
Ship builders chose woods based on availability and characteristics, matching species to the needs of the vessel. Keel, beams, and frames, or ribs of the ship are best made with white oak. White oak is hard, strong, relatively inflexible, and rot resistant. More common red oak isn’t as good for shipbuilding because it is not as rot resistant as white oak. --Penobscot Marine Museum
P.I.
Tuesday, July 27, 2010
Finishing the Body Mold
Today, we finished putting up the body molds, which shape the skeleton of the boat. We had a support beam put on it at the wrong water line (the lines parallel to the water) so we had to  make another. It was glued too high, and the beam was glued into place. We had to make the replacement beam so a strip of wood could be put through the middle, adding structural stability. Another body mold was taken down yesterday to make changes, so we had to put it up again. The remaining three body molds were put into place today.
We also began construction on the oars for the boat. It involves gluing two pieces of wood together with poly-urethane glue, which is watertight, and clamping the pieces of wood together. Traditional wood glue is only water resistant. These blocks of wood will be cut into the shape of an oar. Because we have to use most of the clamps to hold the long strips together, we can only do one oar at a time.
The wood for the keel arrived today!
Shallop Ship Building Student,
Peter Kosakowski
 make another. It was glued too high, and the beam was glued into place. We had to make the replacement beam so a strip of wood could be put through the middle, adding structural stability. Another body mold was taken down yesterday to make changes, so we had to put it up again. The remaining three body molds were put into place today.
We also began construction on the oars for the boat. It involves gluing two pieces of wood together with poly-urethane glue, which is watertight, and clamping the pieces of wood
 together. Traditional wood glue is only water resistant. These blocks of wood will be cut into the shape of an oar. Because we have to use most of the clamps to hold the long strips together, we can only do one oar at a time.
The wood for the keel arrived today!
Shallop Ship Building Student,
Peter Kosakowski
Monday, July 26, 2010
The Ship Skeleton
Today in our boat building group, we continued to  work on our molds, the skeleton of the ship. The molds are almost completely set up, at this point. We attached these molds on to three planks of vertical wood. It could get cramped for the people that were in between two close molds, because they had to move their hands backwards to screw in the screws. It turned out that a couple of these molds had been facing the opposite direction as they were supposed to, and we had to turn them around. Hopefully, these will be done by the end of tomorrow.
Shallop ship building student,
Wesley Blum
 work on our molds, the skeleton of the ship. The molds are almost completely set up, at this point. We attached these molds on to three planks of vertical wood. It could get cramped for the people that were in between two close molds, because they had to move their hands backwards to screw in the screws. It turned out that a couple of these molds had been facing the opposite direction as they were supposed to, and we had to turn them around. Hopefully, these will be done by the end of tomorrow.
Shallop ship building student,
Wesley Blum
Saturday, July 24, 2010
Popham Colony
English explorers and would-be colonists came to present-day Maine in the 1500s and 1600s for various reasons: some out of curiosity; some in the fruitless quest to discover a new "northwest passage" to China and the Indies; some in the vain hope of locating gold and silver, which the Spanish had earlier found in Mexico and Peru; and some to control fishing grounds and to trade for furs with the Indians. All expected to better themselves, even to get rich or become famous, but few did so. Both these early arrivals and the government back in England were eager to claim territory for the crown in order to forestall encroachment by the Spanish from the south and by the French from Quebec and Nova Scotia. -----Read more about the Popham Colony.
See a Slideshow of Artifacts --images by Orman Hines.
See a Slideshow of Artifacts --images by Orman Hines.
Friday, July 23, 2010
Jig and Shop
Today we continued the construction of the jig. The body mold two is completely assembled and  has been secured to the jig. Numbers 1-11 except for number two are under construction and will be finished by next week. Almost everybody has finished their half models and are beginning to take the duties of the shop. For example, the docent, who greets the visitors, the film crew, and the blogger of the day. The shop is finally beginning to look like one and there is a place for everything. The boat is beginning to take shape and come together with the help of volunteers, students, and instructors.
Maine's First Ship Student
Aaron Doughty
 has been secured to the jig. Numbers 1-11 except for number two are under construction and will be finished by next week. Almost everybody has finished their half models and are beginning to take the duties of the shop. For example, the docent, who greets the visitors, the film crew, and the blogger of the day. The shop is finally beginning to look like one and there is a place for everything. The boat is beginning to take shape and come together with the help of volunteers, students, and instructors.
Maine's First Ship Student
Aaron Doughty

Wednesday, July 21, 2010
Body Mold Steps
Today we worked on the body molds. To create these molds, you start out with two pieces of  wood, that when placed together, create part of the boat's hull shape.
Next, you create another copy of these pieces. Once you have the copies of the shape cut out, you put the shape together and create a new piece that joins the two parts of the body molds together.
Next, you create two corners that will fill in the rest of the shape of the mold. To create the rest of the molds' pieces, make another copy of the center and corner parts of the mold. Now that you have all of your pieces you should screw them together. Once you have your mold put together, you shape them with either a spokeshave, block plane, or chisel.
Lastly, you sand down the edges of the body mold.
Amy Franklin
Maine's First Ship Student
**Just added to the Friday, July 16th blog is a video made by Amy. Check it out here.
 wood, that when placed together, create part of the boat's hull shape.
Next, you create another copy of these pieces. Once you have the copies of the shape cut out, you put the shape together and create a new piece that joins the two parts of the body molds together.
Next, you create two corners that will fill in the rest of the shape of the mold. To create the rest of the molds' pieces, make another copy of the center and corner parts of the mold. Now that you have all of your pieces you should screw them together. Once you have your mold put together, you shape them with either a spokeshave, block plane, or chisel.
Lastly, you sand down the edges of the body mold.
Amy Franklin
Maine's First Ship Student
**Just added to the Friday, July 16th blog is a video made by Amy. Check it out here.
Subscribe to:
Posts (Atom)